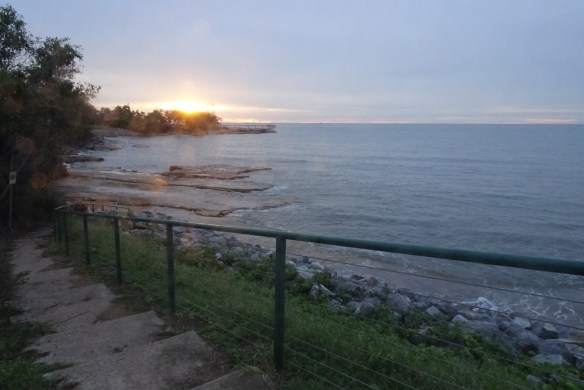
Jim Hamel commented that he wasn’t sure that my clinging tree example had anything to do with dynamic range but that it did improve the photo, so I submitted another and asked if it was a better example.
Original 1/1000 f7.1 ISO200


Jim Hamel commented that he wasn’t sure that my clinging tree example had anything to do with dynamic range but that it did improve the photo, so I submitted another and asked if it was a better example.
Original 1/1000 f7.1 ISO200
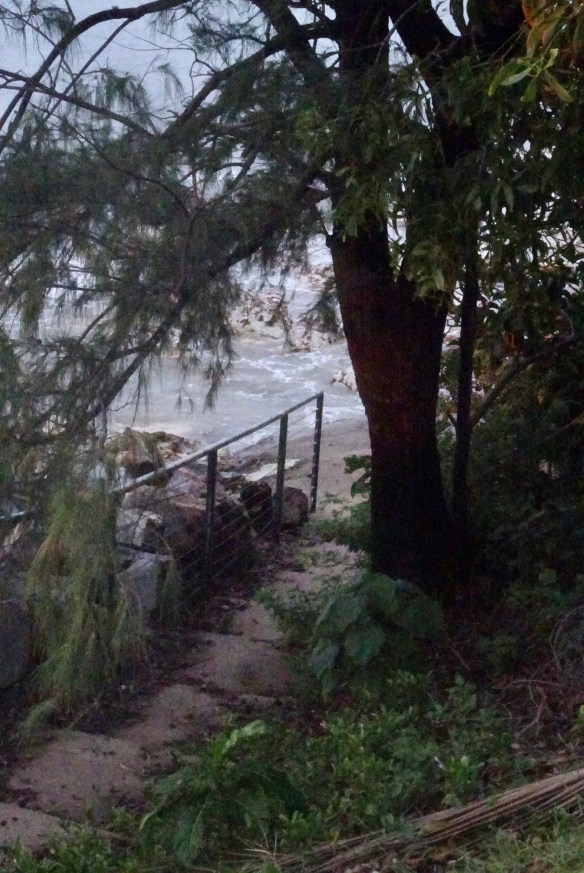
I call this the Clinging Tree because it has been clinging to the edge of the cliff by its roots for years and has even survived cyclones. This photo was taken with the sun setting to the left.

1/80 f/8 ISO 3200 54mm

For this assignment we were to add texture and punch to one of our pictures by adding contrast.

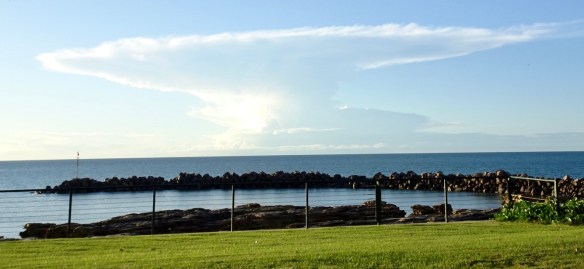
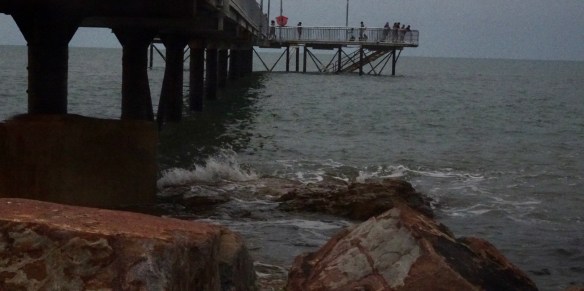
Nightcliff Jetty – Original 1/1000 f3.5 ISO 80 24mm


I didn’t like the white patch in the sky when I removed the lamp posts, but I didn’t like the result when I tried to fix it either so I started again:


End results with and without lamp posts.
For this assignment we were to make changes to discrete portions of a photo using tools in Lightroom and Photoshop.
This is the original f3.5 1/2000 410 mm ISO 1600

Befor crop

End result
Re-posting after Jim suggested applying a light vignette instead of cropping.

Re-posting with vignette feathered out so it’s barely noticeable.

For this assignment we were to find one of our photos where the lighting or exposure was off and fix it using the tools in Lightroom and Photoshop we’d learnt about in Day 23: Control the Light.
I selected this photo from Day 6 Assignment – Stop the Action because Jim Hamel liked it but said it needed brightening in post processing.
This first photo is the original.


This assignment is a continuation of Day 21 Work the Scene, but as I am unable to complete that at the moment, I am submitting some photos I took of a martial arts demonstration by the Darwin Chung Wah Society for Chinese New Year last month.
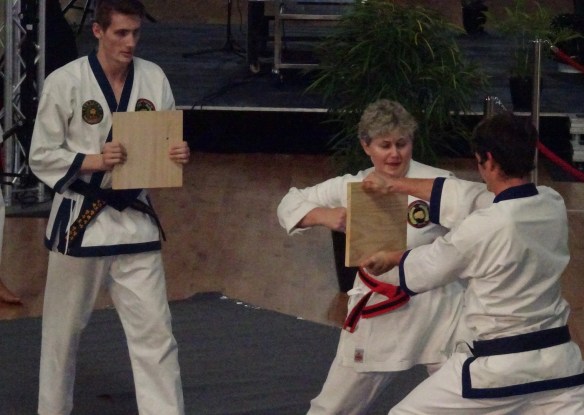
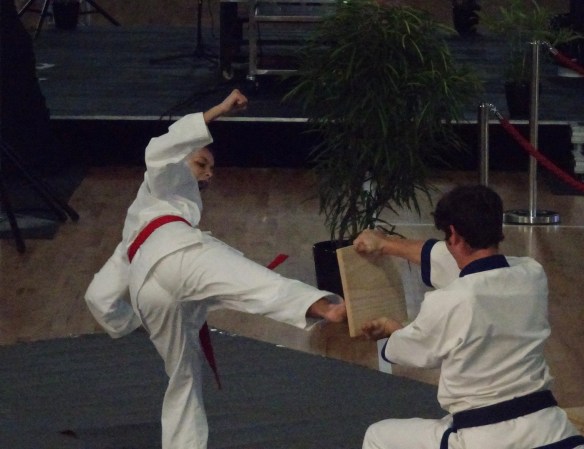
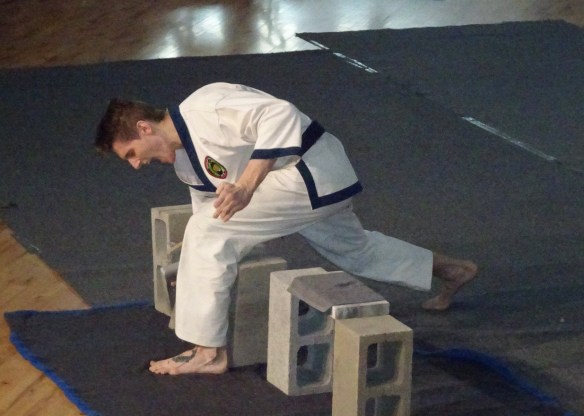
1/400 f5.6 ISO 3200
1/400 f5.6 ISO 3200
1/400 f5.0 ISO 3200
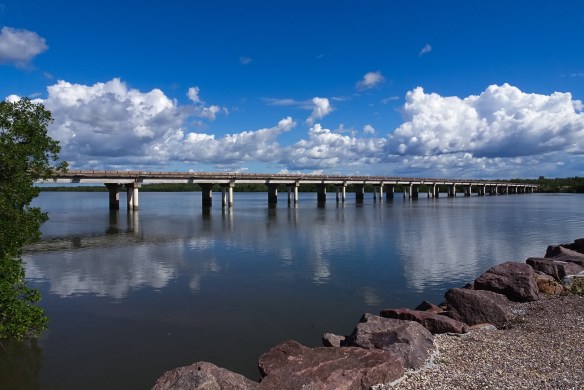


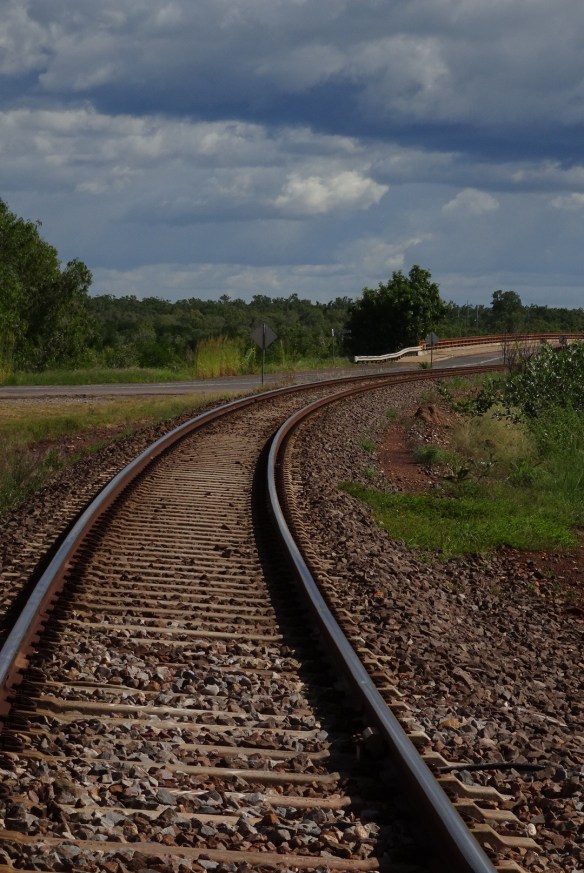

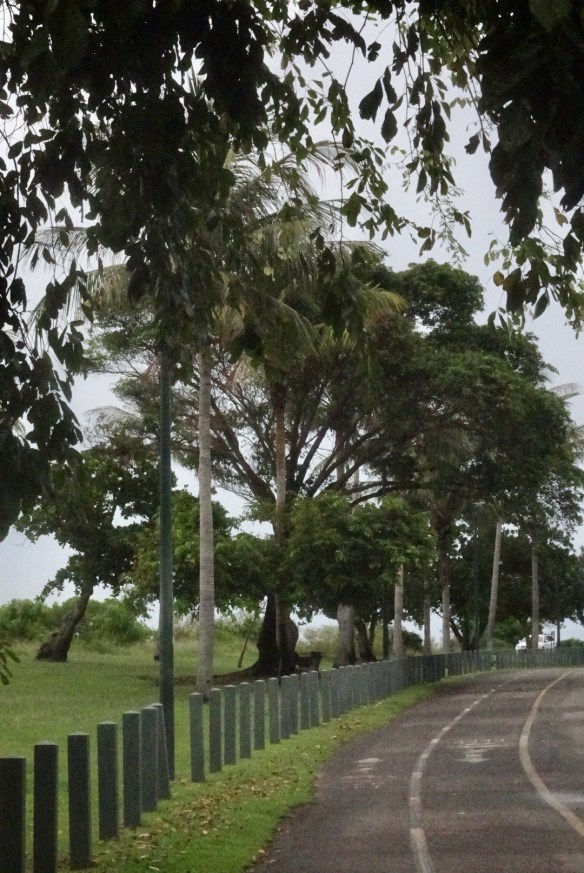
Finn Road in the rural area before the bridge – accidentally replaced the original


This is almost identical to the original which I seem to have deleted.
Cropped and removed blemishes in Photoshop.
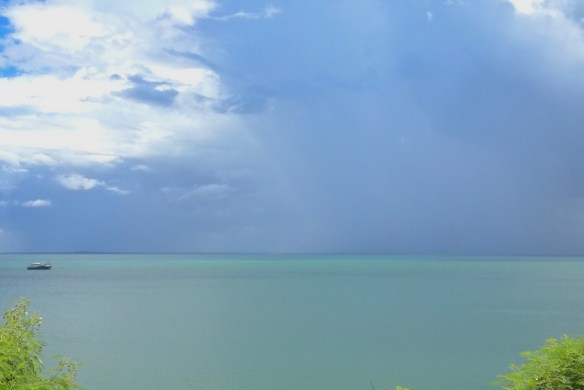
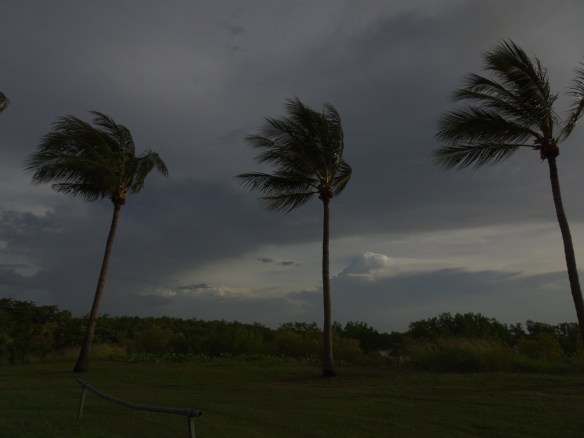
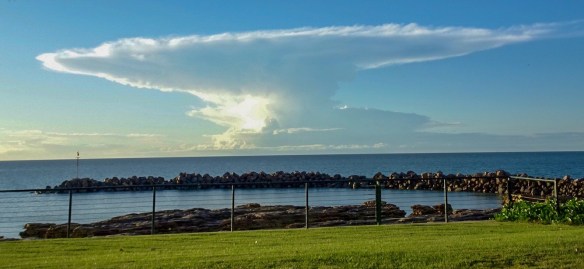
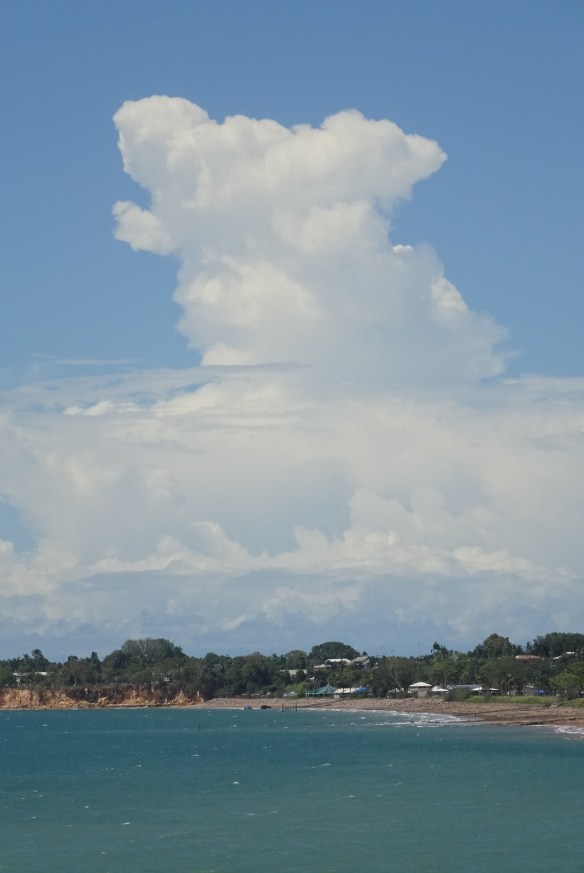
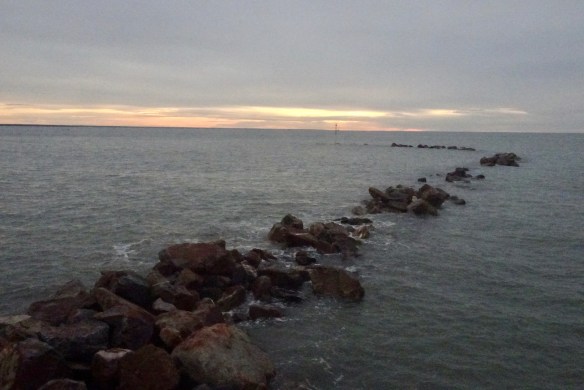
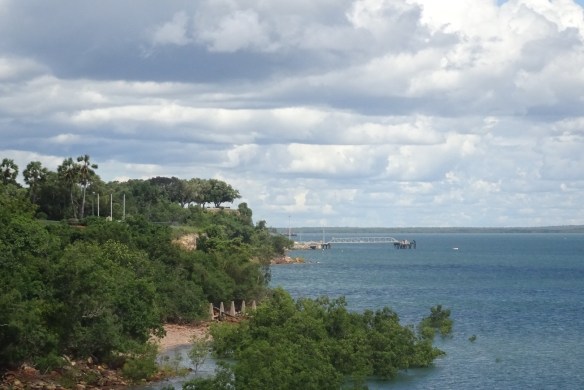
I love the balance of the little fishing boat on one side against the dark menacing storm cloud on the other.

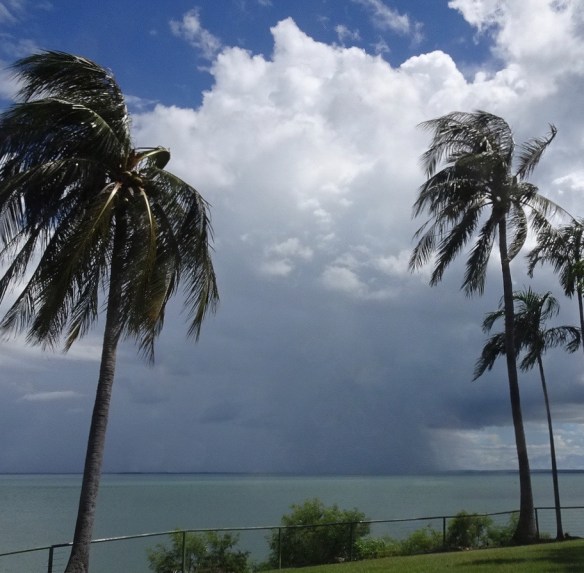
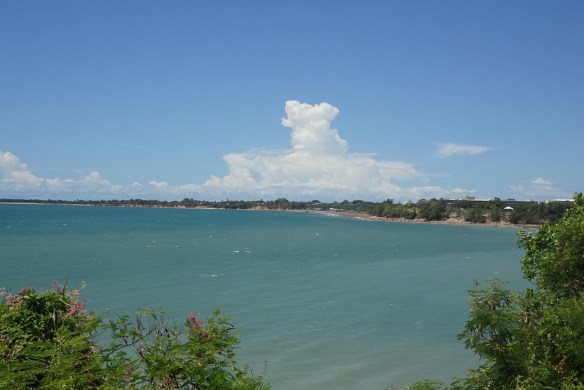
This cloud balanced itself but I took a few other shots to include some foreground.

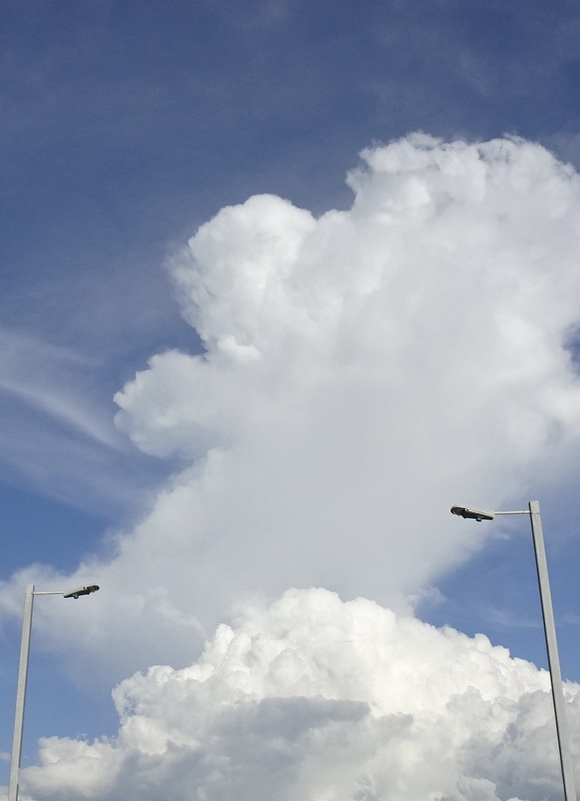
It was hard to find an example of formal symmetrical balance. I used the jetty lightposts.


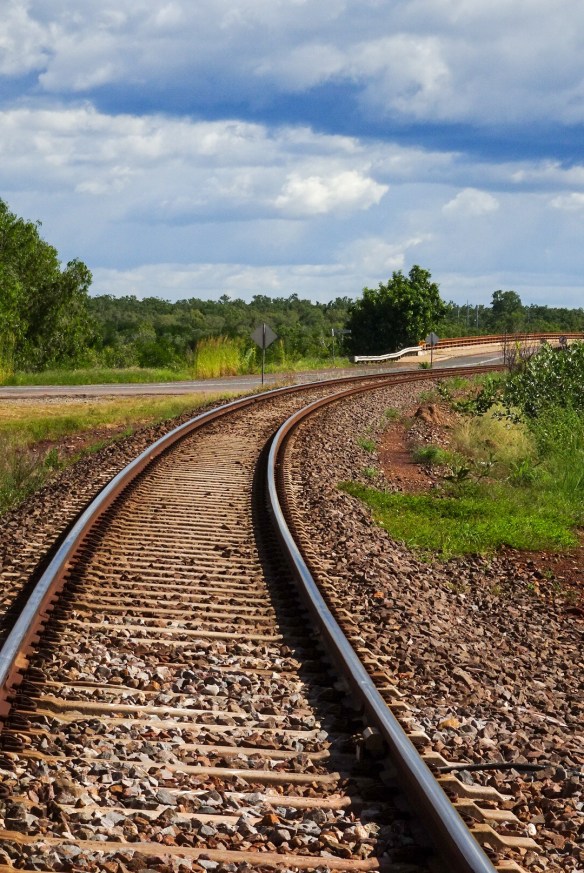
For this assignment we were to
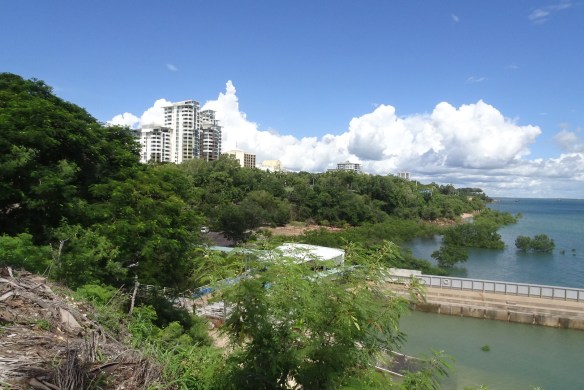
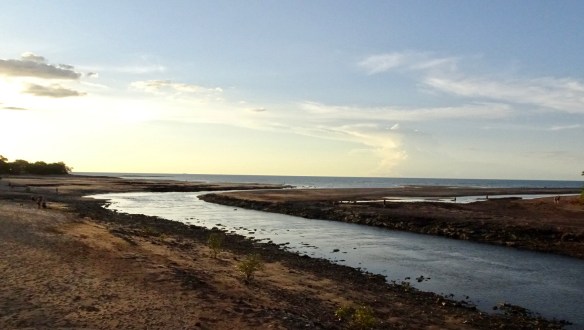
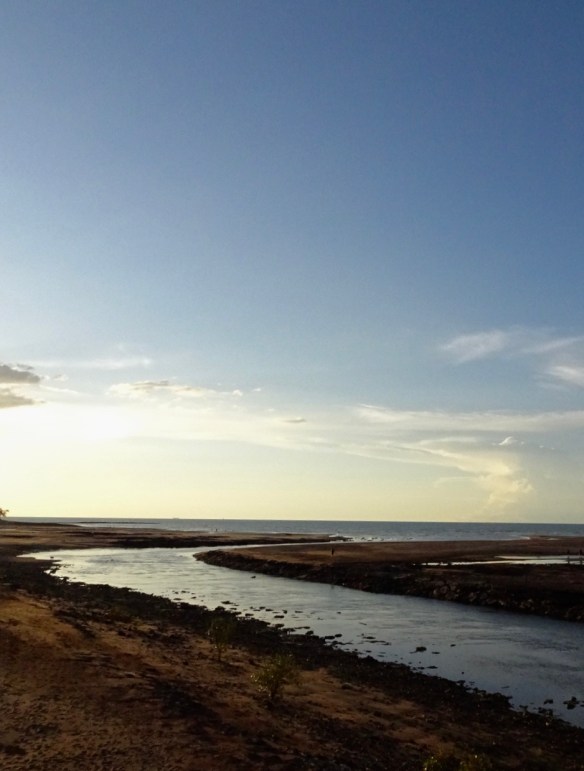
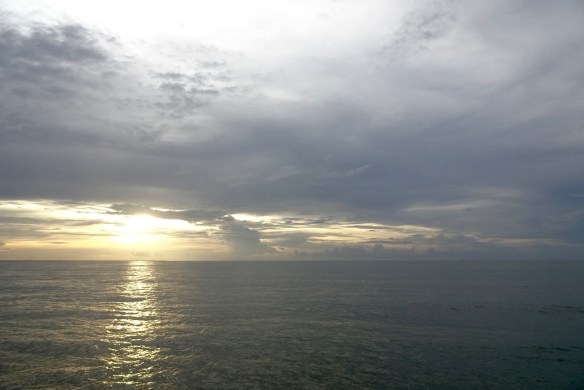
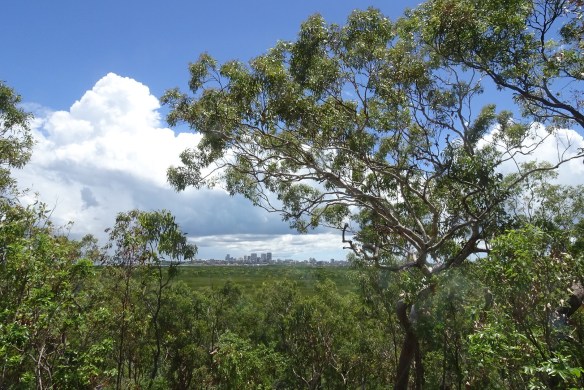
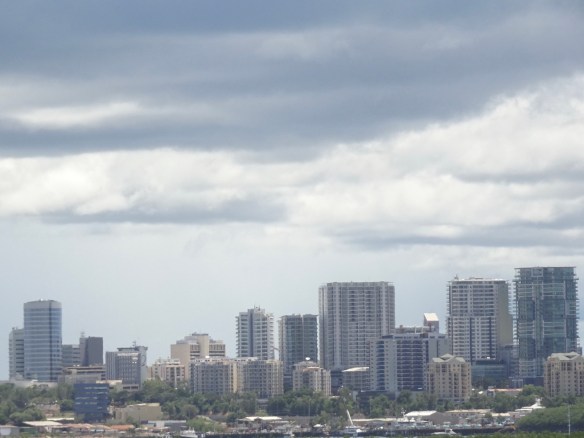
shoot a landscape scene and arrange the shots using the Rule of Thirds.
To accentuate the sky put the horizon on the lower third line.
To accentuate the ground put the horizon on the top third line.
If there’s a subject or centre of interest, place it on the left or right line, don’t centre it.
Use the crop tool to refine the composition later.
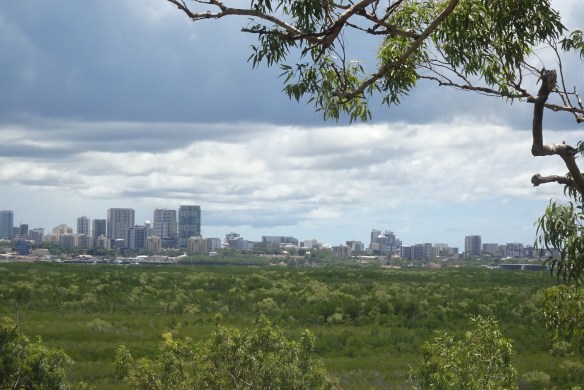
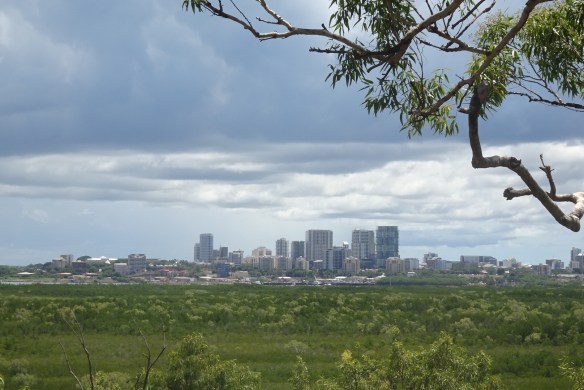
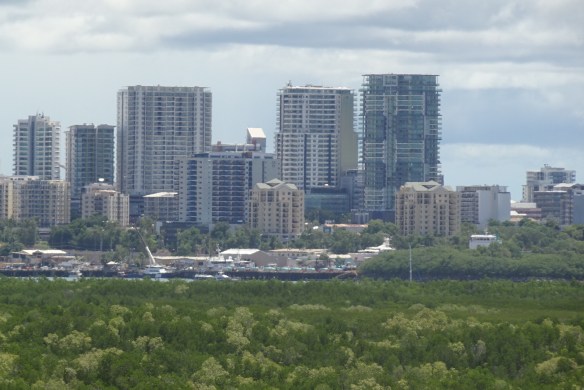
Darwin City from Charles Darwin National Park
All 1/200 f8.0 ISO 80 4.10 – 42 mm


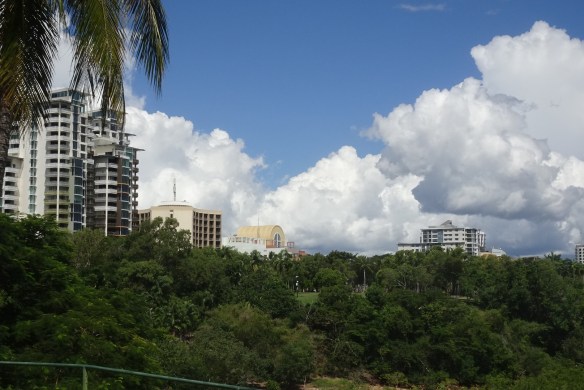
Darwin City from Larrakeyah
First three shots 1/1000 f5.6 to f8.0 ISO 200 to 400


1/500 f8 ISO 100