Jim Hamel commented that he wasn’t sure that my clinging tree example had anything to do with dynamic range but that it did improve the photo, so I submitted another and asked if it was a better example.
Original 1/1000 f7.1 ISO200


Jim Hamel commented that he wasn’t sure that my clinging tree example had anything to do with dynamic range but that it did improve the photo, so I submitted another and asked if it was a better example.
Original 1/1000 f7.1 ISO200
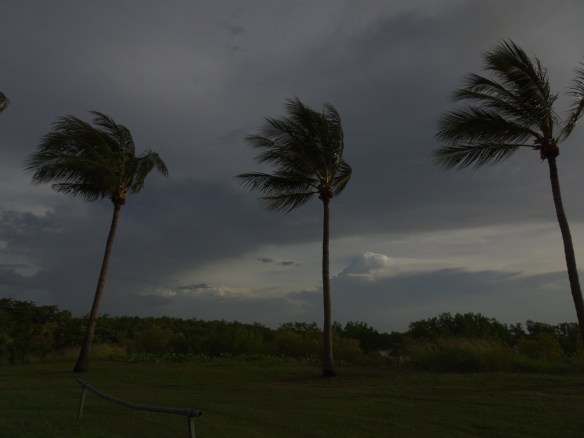
I call this the Clinging Tree because it has been clinging to the edge of the cliff by its roots for years and has even survived cyclones. This photo was taken with the sun setting to the left.

1/80 f/8 ISO 3200 54mm

For this assignment we were to add texture and punch to one of our pictures by adding contrast.

Nightcliff Jetty – Original 1/1000 f3.5 ISO 80 24mm


I didn’t like the white patch in the sky when I removed the lamp posts, but I didn’t like the result when I tried to fix it either so I started again:


End results with and without lamp posts.
For this assignment we were to make changes to discrete portions of a photo using tools in Lightroom and Photoshop.
This is the original f3.5 1/2000 410 mm ISO 1600

Befor crop

End result
Re-posting after Jim suggested applying a light vignette instead of cropping.

Re-posting with vignette feathered out so it’s barely noticeable.

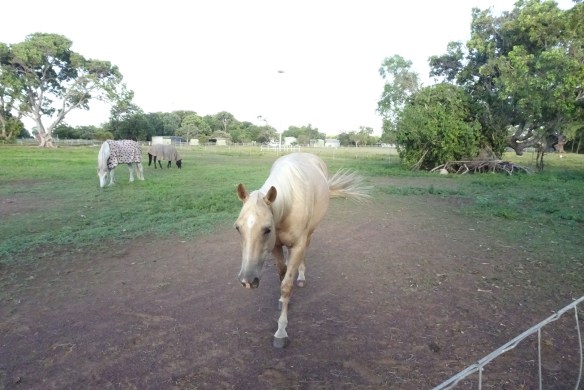
For this assignment we were to find one of our photos where the lighting or exposure was off and fix it using the tools in Lightroom and Photoshop we’d learnt about in Day 23: Control the Light.
I selected this photo from Day 6 Assignment – Stop the Action because Jim Hamel liked it but said it needed brightening in post processing.
This first photo is the original.